
Selecting custom lab-grown diamond rings speaks to both refinement and responsibility for couples across Denver. With the right care and expertise, these sustainable stones retain their captivating brilliance for years to come. This guide reveals how easy, organized maintenance using gentle cleaning solutions and thoughtful storage can protect your investment and keep your symbol of commitment shining at every glance.
Table of Contents
- Step 1: Prepare A Safe Cleaning Area
- Step 2: Select Gentle Cleaning Solutions
- Step 3: Clean Lab Diamonds Properly
- Step 4: Dry And Store Jewelry Safely
- Step 5: Inspect And Maintain Regularly
Quick Summary
| Key Point | Explanation |
|---|---|
| 1. Create a Safe Cleaning Area | Use a soft, clean surface with good lighting to prevent scratches while cleaning your lab-grown diamond jewelry. |
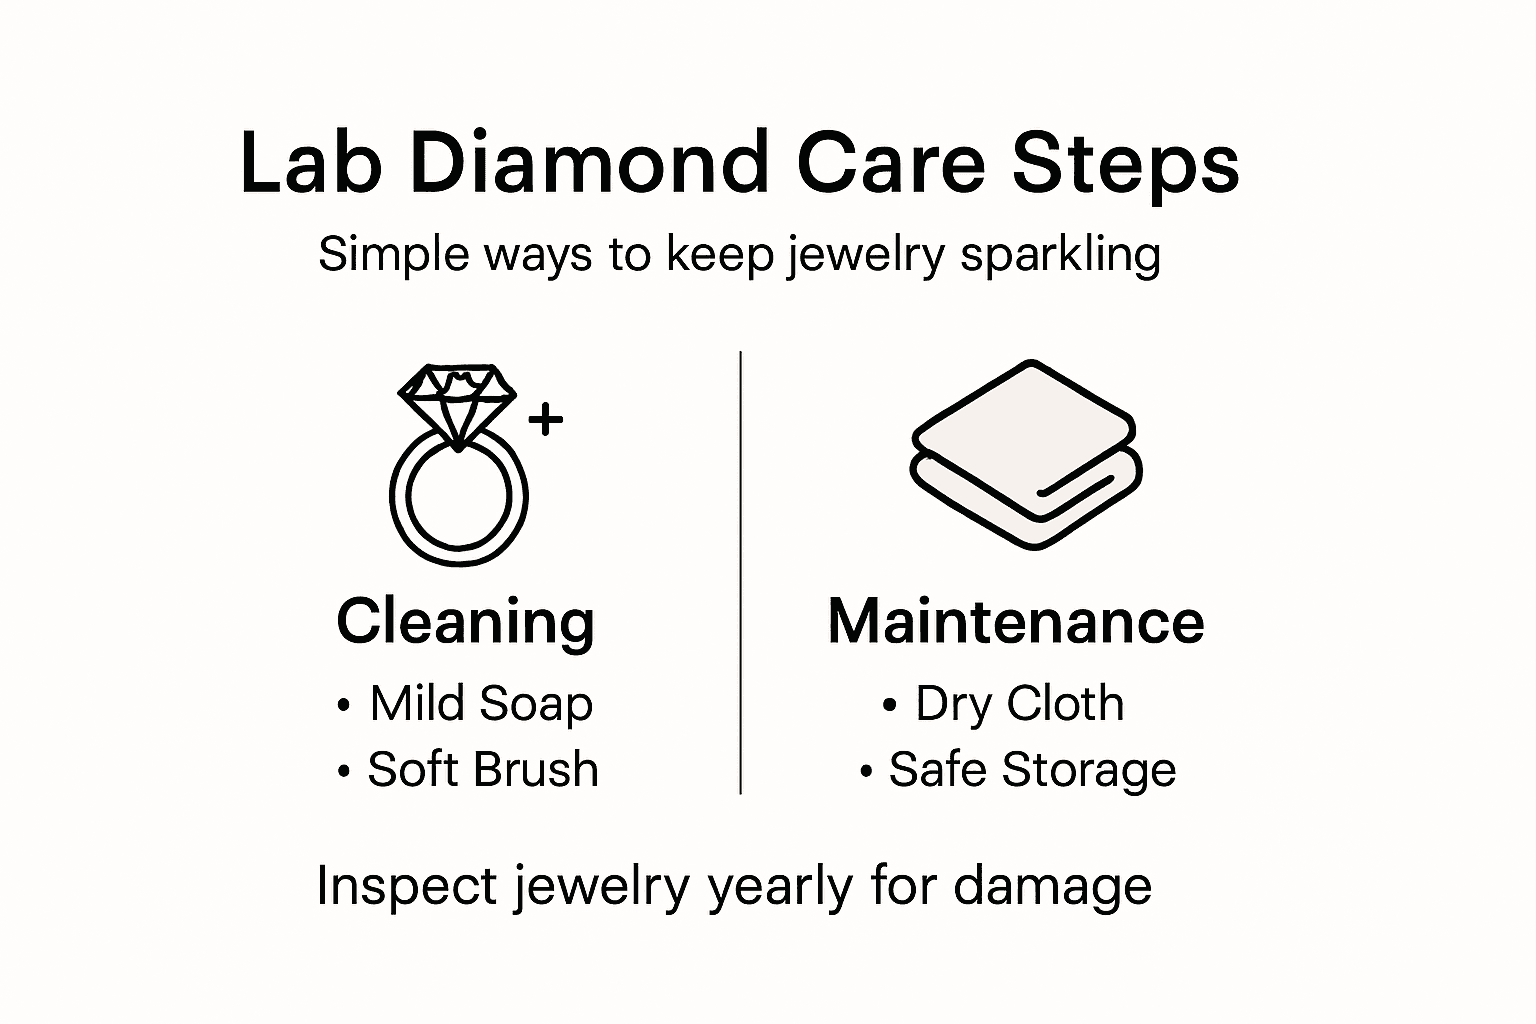
| 2. Use Gentle Cleaning Solutions | Mix warm water with mild dish soap for safe, effective cleaning without harsh chemicals that could damage the diamond. |
| 3. Clean with a Methodical Approach | Soak jewelry for 15-25 minutes and use a soft brush to remove debris, ensuring thorough cleaning without risk of damage. |
| 4. Properly Dry and Store Jewelry | Pat jewelry dry with a microfiber cloth and store in soft-lined containers to protect it from scratches and environmental damage. |
| 5. Regular Inspections are Essential | Conduct quarterly checks on settings and stones to prevent issues, maintaining the overall beauty and structural integrity of your jewelry. |
Step 1: Prepare a Safe Cleaning Area
Preparing a dedicated, protected workspace is essential for safely cleaning your lab-grown diamond jewelry. Your goal is to create an organized environment that minimizes potential damage and ensures careful handling of these delicate pieces.
Start by selecting a clean, flat surface with good lighting - preferably a table covered with a soft, lint-free cloth that will prevent scratches. The expert diamond guidance recommends using a surface that provides several key benefits:
- A white or light-colored background for better visibility
- Soft padding to protect jewelry from accidental impacts
- Adequate space to spread out your cleaning materials
- Good illumination to spot any intricate details
Organize your workspace strategically by gathering all necessary cleaning supplies beforehand. This means having gentle cleaning solutions, soft-bristled brushes, lint-free microfiber cloths, and a small container for rinsing within easy reach. Position these items systematically to create a workflow that minimizes handling and potential accidental drops.
Use this summary to organize your workspace for optimal jewelry care results:
| Workspace Feature | Why It Matters | Best Practice |
|---|---|---|
| Soft, padded surface | Prevents scratches and impact | Use a microfiber towel or cloth |
| Good lighting | Easier to spot debris | Use a desk lamp or daylight |
| Separate containers | Avoids cross-contamination | Assign each piece its space |
| Nearby storage | Reduces loss risk | Keep a box close for clean pieces |
Pro tip: Always work over a closed drawer or with a soft towel beneath your workspace to catch any accidentally dropped jewelry items.
Pro tip: Place a small, clean white washcloth underneath your work area to immediately catch any jewelry that might slip from your hands during cleaning.
Step 2: Select Gentle Cleaning Solutions
Your choice of cleaning solution can make or break the maintenance of your precious lab-grown diamond jewelry. The goal is to clean effectively without causing any damage to the delicate gemstone or its intricate setting.
Growing Jewelry experts recommend creating a mild cleaning solution that safely removes dirt and oils without harsh chemicals. You’ll want to prepare a solution that hits the sweet spot between thorough cleaning and gentle treatment:
- Use warm water as your base liquid
- Add a few drops of mild dish soap
- Avoid solutions with chlorine or acetone
- Select fragrance-free soap varieties
The ideal cleaning mixture should be light and sudsy, but not overly concentrated. Mix your solution in a small, clean container by adding just a drop or two of gentle dish soap to warm water. Stir carefully to create a consistent, mild solution that won’t leave residue on your jewelry.
Here’s a quick reference for choosing the right cleaning solutions for lab-grown diamond jewelry:
| Cleaning Solution | Safe for Lab Diamonds | Potential Risks |
|---|---|---|
| Warm water + mild dish soap | Yes, gentle and effective | None if diluted and fragrance-free |
| Household cleaners (chlorine, acetone) | No, can damage gemstone and setting | Discoloration, weakened integrity |
| Jewelry-specific cleaners | Sometimes safe, verify ingredients | Possible harsh chemicals |
| Fragrance-free soap | Yes, if mild | None if properly diluted |
Harsh chemicals can compromise the brilliance and structural integrity of your lab-grown diamond.
Pro tip: Always test your cleaning solution on a small, inconspicuous area of the jewelry setting first to ensure no adverse reactions occur.
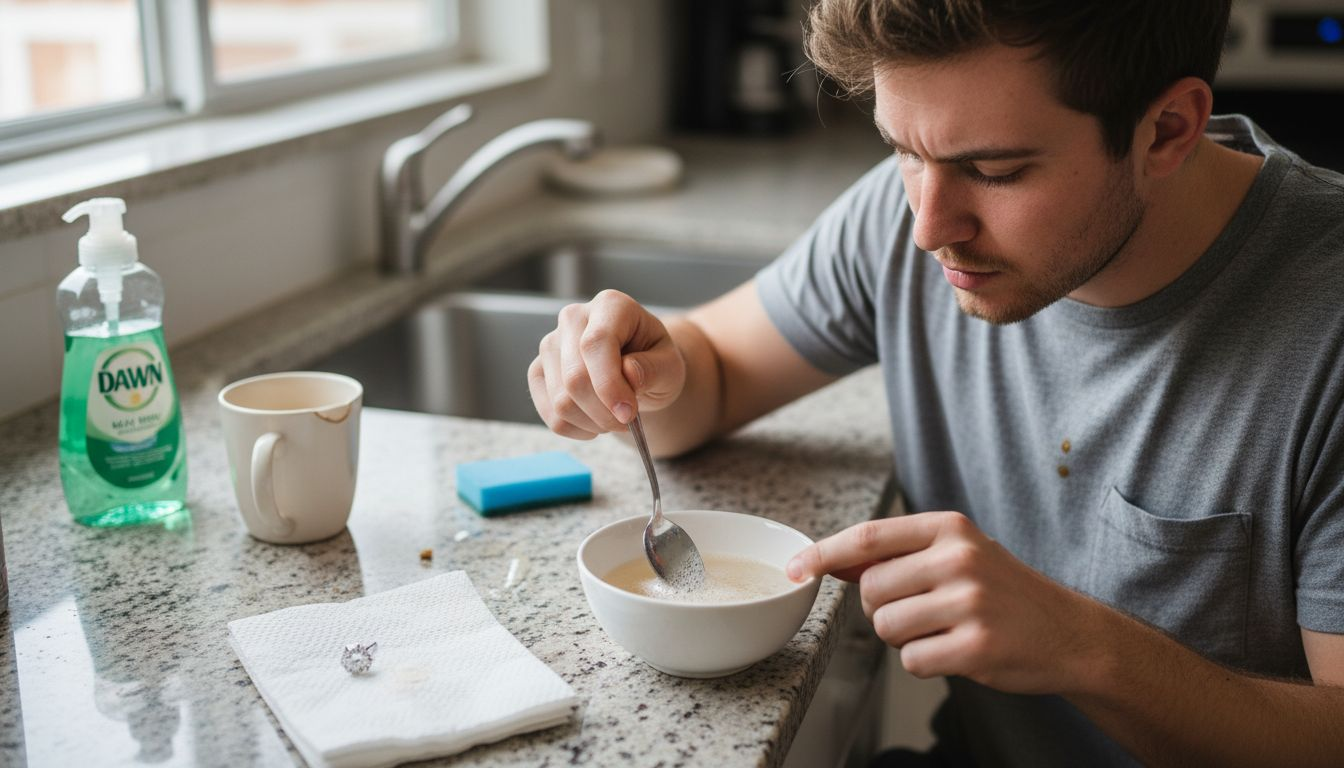
Step 3: Clean Lab Diamonds Properly
Now that you’ve prepared your workspace and gentle cleaning solution, it’s time to actually clean your precious lab-grown diamond jewelry. Jewelry cleaning experts recommend a methodical approach that preserves both the diamond’s brilliance and its delicate setting.
Begin by soaking your jewelry in the warm, soapy solution for 15-25 minutes. This initial soak helps loosen dirt and oils trapped in hard-to-reach areas:
- Use lukewarm water, not hot
- Ensure complete submersion of the piece
- Keep jewelry separate to prevent scratching
- Time the soak carefully (15-25 minutes maximum)
After soaking, use a soft-bristled brush to gently remove any remaining dirt from crevices and settings. Work carefully around prongs and intricate details, using light, circular motions. Rinse thoroughly under warm running water to remove all soap residue.
Gentle cleaning protects your diamond’s sparkle and prevents potential damage to the setting.
Pro tip: Hold your jewelry over a soft towel during rinsing to prevent accidental drops and catch any loose stones.
Step 4: Dry and Store Jewelry Safely
After carefully cleaning your lab-grown diamond jewelry, the final crucial step is proper drying and storage. Lab diamond experts recommend a meticulous approach that protects your precious piece from potential damage.
Begin by patting the jewelry dry with a soft, non-abrasive microfiber cloth. Avoid rubbing, which can create micro-scratches or potentially loosen stones. Instead, gently blot the piece, allowing the cloth to absorb moisture without applying excessive pressure:
- Use a clean, lint-free microfiber cloth
- Pat, don’t rub the jewelry surface
- Ensure complete moisture removal
- Check settings and crevices carefully
For storage, select a dedicated space that protects your jewelry from environmental risks. Soft-lined jewelry boxes or individual padded pouches work best, keeping each piece separate to prevent scratching. Choose a cool, dry location away from direct sunlight and extreme temperature fluctuations.
Proper storage is as important as careful cleaning for maintaining your lab diamond’s brilliance.
Pro tip: Consider using silica gel packets in your jewelry storage container to absorb excess moisture and prevent potential tarnishing.
Step 5: Inspect and Maintain Regularly
Regular maintenance is the secret to keeping your lab-grown diamond jewelry looking stunning for years to come. While no specific external citation was provided, professional jewelers consistently recommend creating a systematic approach to jewelry care and inspection.
Establish a quarterly maintenance routine that involves careful visual and physical examination of your precious pieces. Focus on several critical areas during your inspection:
- Check prong settings for any signs of loosening
- Examine diamond for potential chips or scratches
- Test the security of clasps and connections
- Look for any discoloration in metal settings
- Verify overall structural integrity
Some issues can develop gradually and might not be immediately apparent. Use natural light and, if possible, a jeweler’s loupe for detailed examination. Look closely at connection points, settings, and the diamond itself for any subtle changes that could indicate potential future problems.
Small, consistent maintenance prevents expensive repairs and preserves your jewelry’s beauty.
Pro tip: Consider scheduling a professional inspection annually to catch any potential issues that might escape your personal review.
Keep Your Lab-Grown Diamonds Sparkling with Eternal Carat
Caring for your lab-grown diamond jewelry requires gentle cleaning, precise maintenance, and a trusted source for expert guidance. This article highlights the challenges of protecting the brilliance and delicate settings of your precious pieces through safe cleaning techniques and regular inspections. At Eternal Carat, we understand the importance of preserving these details. Our commitment to ethical luxury and custom fine jewelry ensures you receive not only high-quality lab-grown diamonds but also personalized support for their ongoing care.
Discover how our expert consultation services can guide you in selecting sustainable and stunning lab-grown diamonds alongside professional advice to maintain their beauty. Visit Eternal Carat to explore our collection or schedule a secure, private appointment in Parker, Colorado. Take control of your jewelry’s longevity now by partnering with a trusted jeweler who values craftsmanship and care as much as you do.
Frequently Asked Questions
How often should I clean my lab-grown diamond jewelry?
Regularly clean your lab-grown diamond jewelry to maintain its sparkle. Aim for a thorough cleaning every few weeks, and always inspect your pieces for dirt or buildup during your routine wearing.
What cleaning solution is best for lab-grown diamonds?
A gentle cleaning solution made of warm water and mild dish soap is best for lab-grown diamonds. Mix a few drops of fragrance-free dish soap in warm water before soaking your jewelry for effective cleaning.
How can I inspect my lab-grown diamond jewelry for damage?
Inspect your jewelry by checking prongs, settings, and the diamond itself for any signs of loosening or chips. Conduct this visual inspection every few months and consider using a jeweler’s loupe for a closer look.
What is the best method for drying lab-grown diamond jewelry after cleaning?
After cleaning, pat your jewelry dry gently with a soft microfiber cloth. Avoid rubbing to prevent micro-scratches, ensuring all moisture is removed from settings and crevices.
How should I store my lab-grown diamond jewelry?
Store your lab-grown diamond jewelry in a soft-lined jewelry box or individual padded pouches. This prevents scratches and keeps each piece safe from potential damage in a cool, dry location away from direct sunlight.
What precautions should I take when cleaning my lab-grown diamonds?
Take care to clean your lab-grown diamonds using a soft-bristled brush and avoid harsh chemicals that can harm the gemstone. Always soak your jewelry separately to prevent scratching and be gentle in your approach during cleaning.
Recommended
- 7 Lab-Grown Diamond Myths Debunked for Savvy Couples – Eternal Carat
- Lab-Grown Diamond Quality Guide for Flawless Selection – Eternal Carat
- How to Choose Lab-Grown Diamonds for Elegant Jewelry – Eternal Carat
- 7 Types of Lab-Grown Diamonds Explained for Couples – Eternal Carat
- Caring for Your Sterling Silver Jewellery: A Guide to Lasting Brilliance - Arwa Miel
- Jewelry Care Workflow for Lasting Sparkle and Longevity – SammiBee


